
Inside the Guide
Harsh shadows, shiny faces, and countless hours of editing to perfect the hundreds of photos you’ve just captured. School and sports photography is no joke.
No matter how long you’ve been in this industry, you’re no stranger to the problems that can occur when the photography lighting is just not right.
The last thing you want is to spend countless hours and money on a lighting setup only to be disappointed with the end result.
But don’t worry. We’ve got some expert tips to help you elevate your photography game, show you how to set up photography lights, and achieve stunning results without spending unnecessary hours and dollars on lighting setups.
With more than 15 years of experience under his belt, our expert photographer, Tim Macdonald, has given us some pro tips to master volume photography shoots and we’re sharing them with you below to make your life easier! He’s also demonstrated all these tips – and more – in his masterclass video.
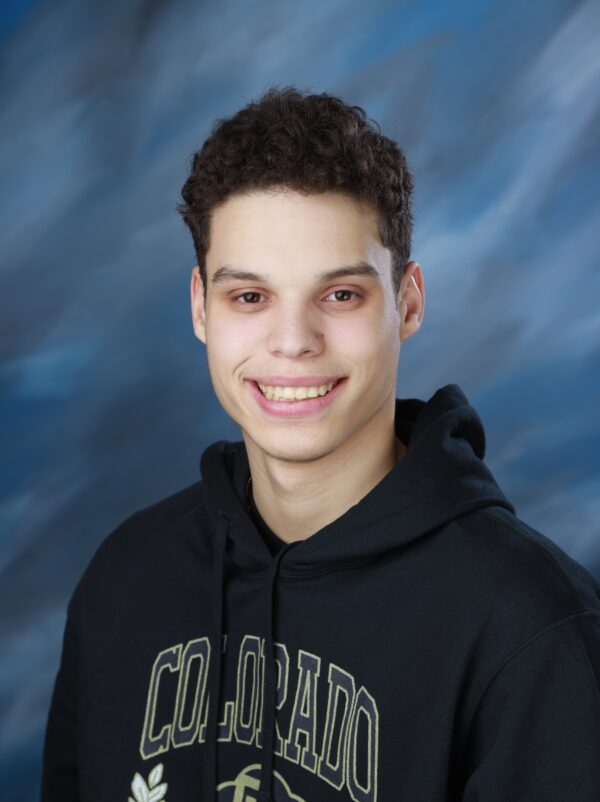
Best Practices for Underclass School Photography Lighting
Portability is key! When it comes to underclass photography, efficiency is everything. The last thing you want is to lug around heavy gear all day and spend time that you don’t have setting it up. Finding equipment that makes transport and setup seamless is crucial.
For a reliable, durable, and effective main light, we recommend using the AD600 Godox. They’re wireless, easily transportable, and use affordable replaceable batteries.
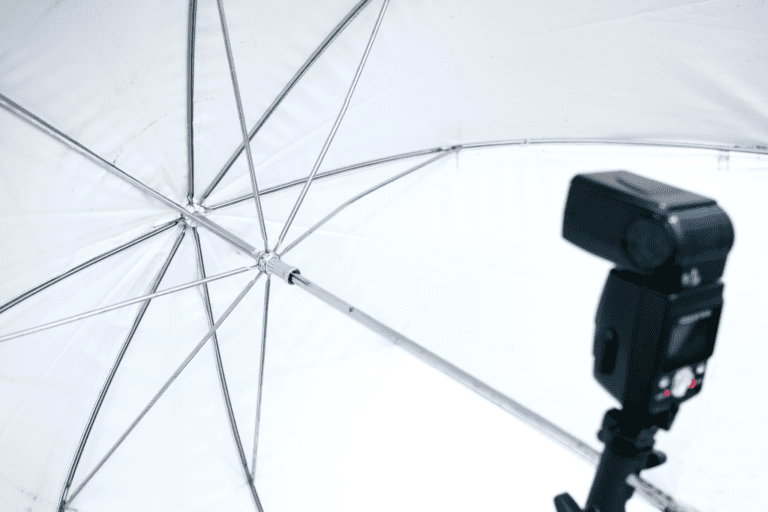
When it comes to choosing a color for your softbox, opt for white. White bounces light back toward the subject effortlessly and is appealing to the eye. We all want our subjects to stand out in the image and this lighting setup for portraits is a great way to make that happen.
Our expert, Tim, uses a 5-foot-diameter umbrella for his main light with a white diffusion panel inside. He uses one that is large but can disassemble easily and fit in a small bag. Remember, portability is key!
When it comes to choosing the right fill light, opt for something like the Godox AD300. Again, this is a great option because you don’t need to worry about power cables getting in the way.
For an effective shoot-through umbrella for your fill light, we recommend using one with a diameter of around 2-3 feet for best results.
Best Practices for High School Senior Photography Shoots
Ever wonder what kind of stool to use? We recommend a drum stool. They’re not the cheapest option, but they stay in position and are extremely supportive.
Expert Tim Macdonald recommends using a fill reflector for senior photography shoots. According to Tim, “Reflectors are typically inexpensive and easy to set up. With the seniors, there’s less students, so there’s more time to use it and alter it around.”
Using a reflector is tricky sometimes because it can be time-consuming and give you unwanted glare. To better understand how to prevent glare, we recommend watching our Masterclass where Tim demonstrates how to utilize reflectors for success.

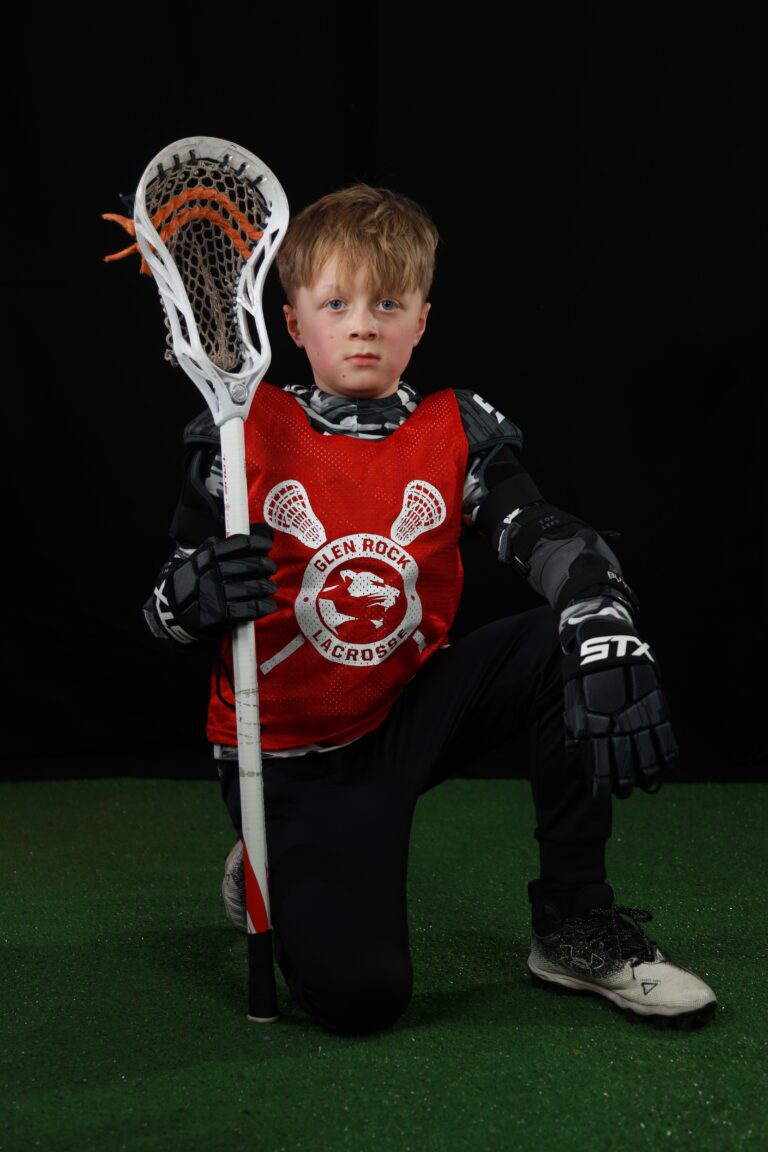
Best Practices for Indoor Sports Photography
Black is a great color for a standard background. It’s an ideal base to start with for lighting for sports portraits, especially if you plan on adding props. If you plan to extract your images, white is recommended.
How to enhance your images: Turf, gel backlights, and aerosol spray are three inexpensive props you can include to enhance your indoor sports photography settings.
Incorporating rim lights is a great way to make your subject stand out and to add more dramatic effects in real-time. Tim typically uses the Godox AD200 rim lights to enhance his images.
Using a gridded softbox can help control the light and lessen the spill on your background, especially if you have added props like smoke. Tim uses a 34-inch gridded popup softbox by Glow for his main light.
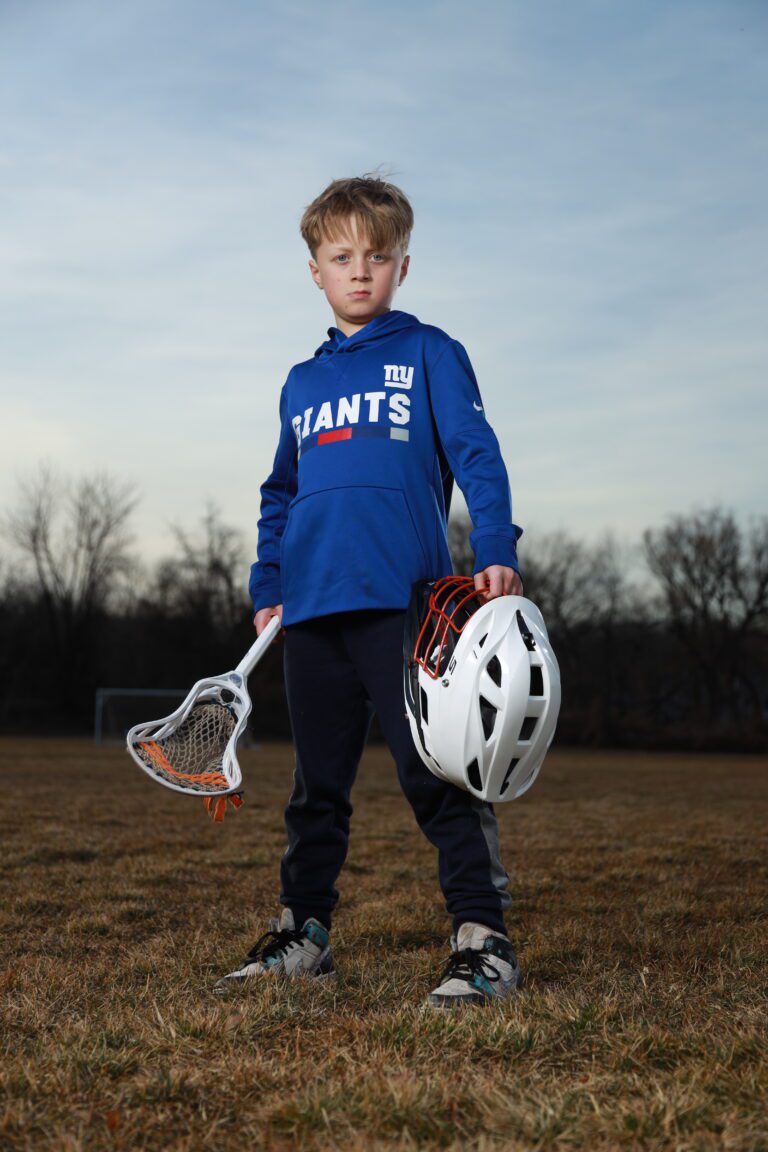
Best Practices for Outdoor Sports Photography Lighting
For the best lighting for outdoor photography, you should position subjects where the sun is behind their right shoulder and pose them typically at a ¾ length.
In general, light stand legs should be as wide as possible. They should be heavy and sturdy so that they stay in place whether you’re shooting on grass, dirt, sand, or gravel.
Tim says, “If I were to shoot high-speed sync, which we do often, I would probably end up using an AD600 for all my lights.
Masterclass
Advanced Lighting Techniques for School & Sports Photography
If you’d like even more tips and demonstrations – along with answers to some of the most pressing questions volume photographers are asking – click here to unlock access to the full masterclass Tim has hosted for us.